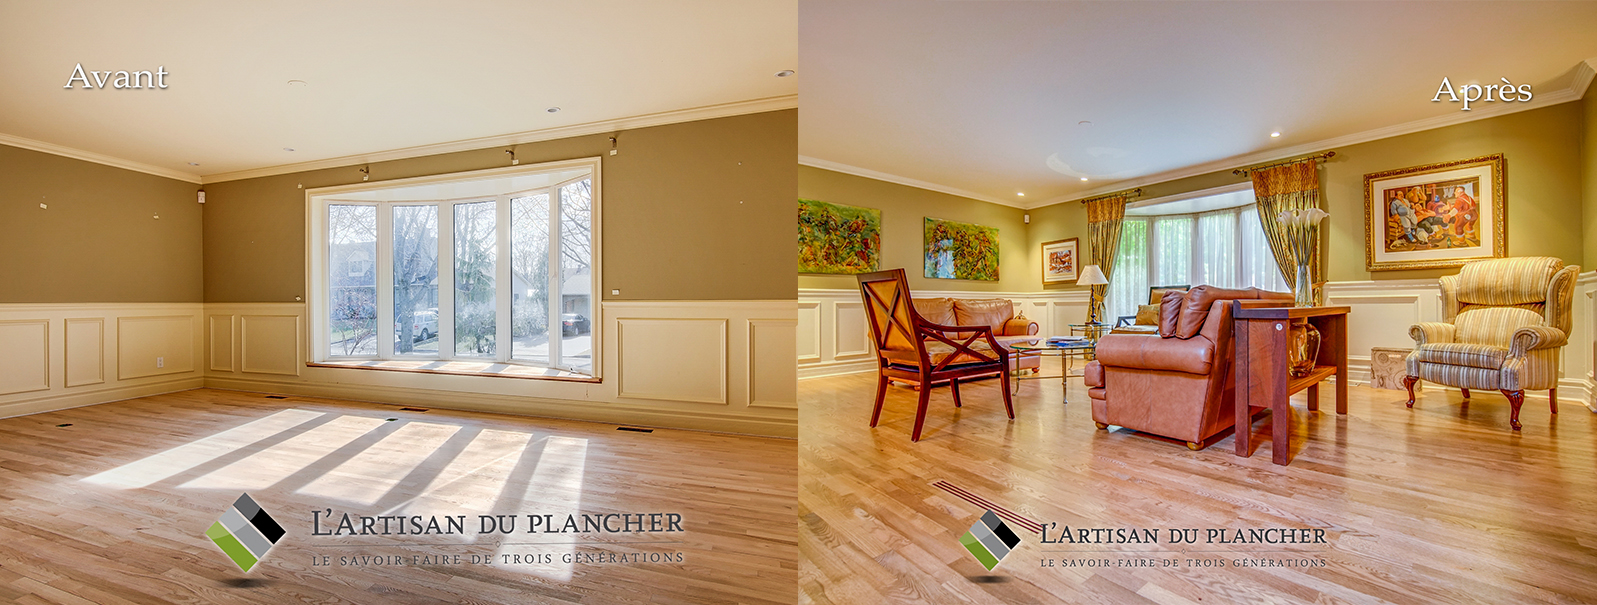

We do sand blasting
and buffing. However, staining hardwood floors requires a specific
preparation called sanding. It means that we must make some
adjustments to the floor first to achieve a uniform color later on.
Indeed, staining can accentuate the unevenness of the wood if you
skip this crucial step.
The
next step is to sand the hardwood boards with an orbital sander. In
addition, we always take the time to sand the contour near the walls
carefully. This targeted sanding allows us to remove any marks caused
by the use of different sanders.
Finally,
we finish this very first step by doing a finishing polish. To do
this, we use a polishing machine and bring it very close to the
walls. For an optimal result, we use a polisher equipped with fine
sandpaper. Then we vacuum and mop with a static mop.
We know the
importance of cleaning the surface before staining the floor after
sanding and sanding the strips. Here again, we use a vacuum cleaner
and a mop for deep cleaning.
The
goal is to have a spotless and uniform floor surface. We wait until
the next day to start staining your floor. In the meantime, we advise
you not to walk on the flooring.
Choosing the right
stain for your wood floor is a critical step. Even if you think
you've chosen the right color and especially the correct shade, then
there's a thing to do. It's a good idea to do some tests on a small
section of the floor or on a strip of wood with the exact same color
as your floor. Once stained, your flooring will retain the color for
many years to come.
Therefore,
it is essential to get your approval following the tests to ensure
that it is the tone you want. In addition, we can recommend the best
places to buy a professional floor stain or floor color for different
types of floors of uncompromising quality. As a result, you will be
guaranteed a finish that meets your expectations. Then we do the test
to make sure the shade is not too light or too dark.
At this point,
everything is ready for the
floor
stain.
But before applying the stain, you must first wet the floor with
methylated spirits or water. This process will open up the wood grain
so that the stain will set better. Then we let it completely dry
completely to avoid any traces of moisture. Now you can apply the
floor stain. To do so, we follow all the basic rules.
For
a uniform, aesthetic and long-lasting result, our artisans always
apply the stain along the length of the wood boards. To do this, they
use a bee mop, a sheepskin or a stain pad placed under a polisher.
They also have
equipment
with a unique stain applicator to minimize burrs. In addition, the applicator allows the stain to be
applied to several 3-foot strips of floor continuously and without
interruption.
In
addition, our professionals use a clean, lint-free cloth to wipe off
any excess stain that may leave run marks on the floor. Skilful, they
synchronize all these application steps to avoid unsightly
demarcations. That's why they often work in pairs or more.
In
a nutshell, floor staining makes your floor look like new. You need
to follow specific steps to do it successfully, starting with sanding
and buffing the wood. Next, the surface must be cleaned and the color
tested before applying the floor stain. Our company specializing in
floor staining is at your service!


